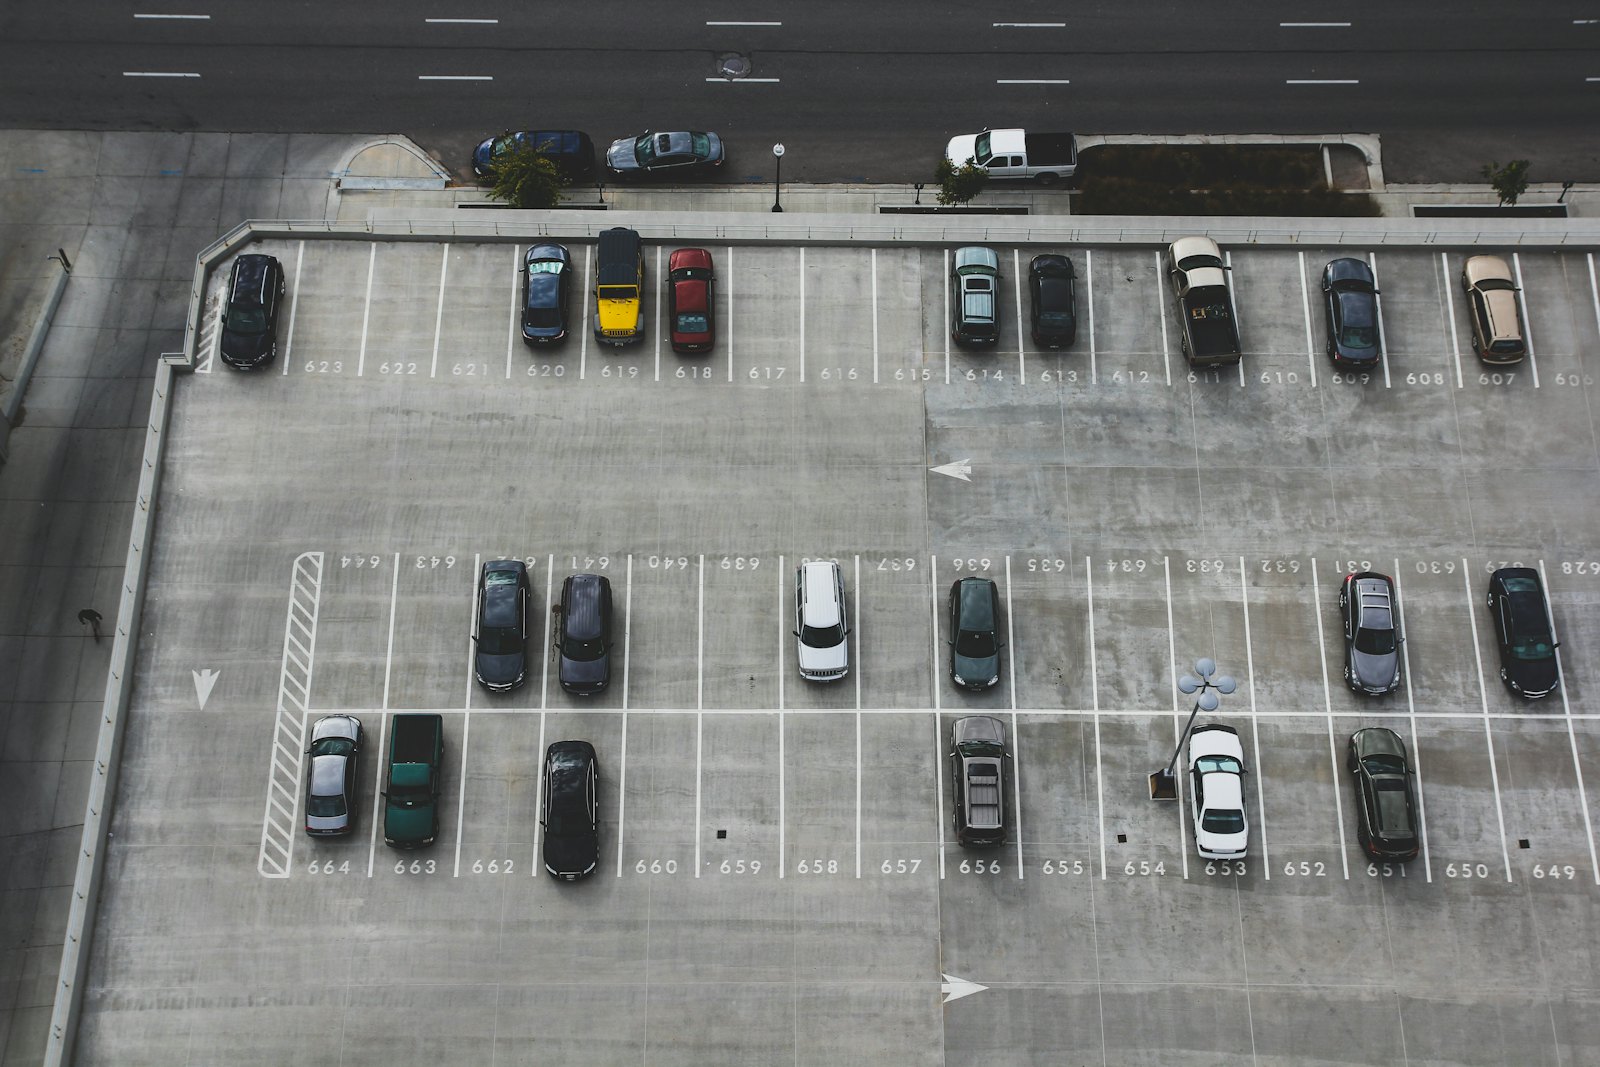
A parking lot overhaul is one of the few facility projects your customers experience directly. They drive on it, park on it, walk across it — and if you sequence the work wrong, they can't do any of those things while your tenants are trying to stay open. Done well, an overhaul is a two-to-three week phased project that barely dents daily operations. Done poorly, it's a month of cone mazes, angry tenant calls, and rework.
Here's how experienced facility teams sequence the four major components — asphalt, striping, lighting, and ADA compliance — and where the traps are.
Start with the ADA review, not the paving quote
Most overhauls start backwards: a property manager gets a sealcoat-and-restripe quote, signs it, and only later learns the lot's accessible parking doesn't meet current code. That's the expensive order of operations, because ADA corrections often change the layout — and layout changes ripple into everything else.
Before any contractor mobilizes, review the current requirements:
- Stall count and dispersion. The number of accessible stalls scales with total lot size, and van-accessible stalls have their own ratio. Stalls generally need to sit on the shortest accessible route to entrances.
- Slope. Accessible stalls and access aisles are typically limited to a 2% slope in any direction. This is the requirement that turns a striping job into a grading job — you can't paint your way out of a sloped stall.
- Access aisles, signage, and curb ramps. Aisles must be full-length and properly marked; signage must be mounted at compliant heights; curb ramps need correct slopes and detectable warnings where required.
ADA drive-by lawsuits target retail lots specifically because violations are visible from the street. Fixing compliance during a planned overhaul costs a fraction of fixing it under a demand letter — and it dictates the final striping plan, so it has to come first.
Asphalt: decide repair depth before you schedule anything
Asphalt work spans a wide range of intervention, and the right one depends on what the base is doing:
- Crack sealing and sealcoating — surface protection. Right for lots with cosmetic wear and tight cracking, wrong for lots with alligatored areas (that's a base problem, and sealcoat over it is money down the drain).
- Patching — cut out and rebuild failed sections. Necessary wherever alligatoring, depressions, or potholes signal base failure.
- Mill and overlay — grind off the top layer and repave. The workhorse option for aging lots with widespread surface distress but a serviceable base.
- Full-depth reconstruction — remove everything and rebuild the base. Rare, expensive, and usually only justified in drive lanes with heavy truck traffic or chronic drainage failure.
Get a contractor to core-sample questionable areas before you commit. The most common budget blowout in lot projects is discovering base failure after the crew is already mobilized for a simple overlay.
Drainage belongs in this phase too. If water ponds anywhere, fix the grading or add drainage structures now — new asphalt won't cure a low spot, and standing water is what kills pavement early.
Lighting: trench while the lot is already torn up
Lighting upgrades are dramatically cheaper when coordinated with paving, for one reason: conduit. If pole locations are moving or you're adding fixtures, the trenching happens before final paving — never after. Cutting a trench through fresh asphalt is the kind of scar tenants notice for the next decade.
Even if pole locations stay put, an overhaul is the natural moment to:
- Convert to LED. Energy and maintenance savings are well established, and many utilities still offer rebates.
- Inspect pole bases. Rusted anchor bolts and cracked concrete bases are a liability issue in high-wind regions. Fixing a base means excavation — again, before paving.
- Photometric check. Uniform light levels matter for both liability (slip-and-fall and security claims) and tenant perception. A quick photometric plan costs little and prevents dark corners.
Striping and signage: the last 48 hours
Striping is fast, cheap, and always last — after sealcoat or overlay has cured (typically 24–72 hours depending on product and weather). This is where the ADA layout from step one gets executed: stall dimensions, access aisles, crosswalks, fire lanes, stop bars, and directional arrows.
Two details that get missed:
- Fire lane marking is a code item, not a suggestion. Local fire marshals can and do cite plazas for faded or missing fire lane paint.
- Cart corrals and EV stalls should be in the striping plan, not improvised afterward. Retrofitting either into a finished layout wastes stalls.
Phasing: keep the lot half-open
The sequencing above is per-zone, not per-lot. Split the lot into two to four phases so tenants keep functional parking and at least one accessible route at every stage. Schedule the noisiest, most disruptive work (milling, patching) for early mornings or overnight where local ordinances allow, and give tenants a simple phase map a week in advance. Most tenant complaints on lot projects come from surprise, not inconvenience.
A typical mid-size plaza sequence looks like: ADA/layout design → drainage and base repairs → conduit and pole bases → mill/overlay or sealcoat by phase → cure time → striping and signage → lighting commissioning. Compressed properly, that's two to three weeks with the lot never less than half-available.
The payoff
A well-sequenced overhaul resets the clock on your largest visible asset: pavement life extended by years, lighting liability reduced, ADA exposure closed out, and a lot that makes the property look managed. The projects that go sideways are almost always sequencing failures — striping before compliance review, paving before trenching, sealcoat over failed base.
Need help scoping or coordinating a parking lot overhaul across one site or fifty? VXO manages vetted paving, electrical, and striping vendors nationwide with a single point of contact. Reach out to our team or request service anytime through the VXO client portal.